
At Upika, it's important to fully understand what we do, and why we do it.
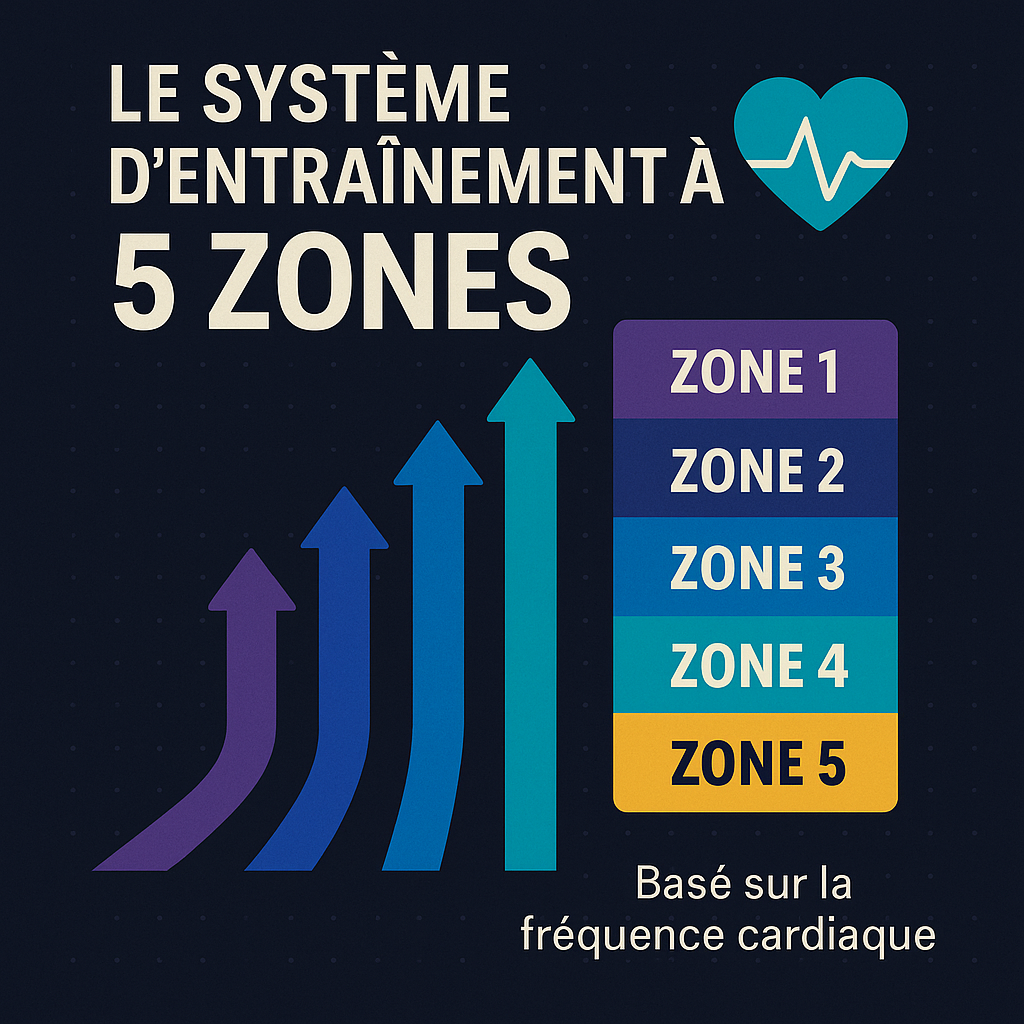
The 5-zone training system, based on heart rate and lactate levels, is a powerful tool for structuring your season, better pacing your efforts, and progressing without burning out. Whether you're a runner, cyclist, swimmer, or skier, this system helps you know when to ease off and when to push harder.
Why talk about training “zones”?
Each intensity of effort triggers a different physiological response.
Two parameters are particularly useful for measuring it:
-
Heart rate (HR): This is your heart's immediate response to exertion. The harder you push yourself, the faster it beats. These zones are often expressed as a percentage of your maximum heart rate.
-
Lactate: This is a molecule produced when your muscles use glucose to create energy. At low intensity, your body recycles it without any problem. At high intensity, it accumulates. That's when your legs start to burn.
The researchers identified two important thresholds:
-
Threshold 1 (LT1): the point where lactate begins to rise (≈ 2 mmol/L).
-
Threshold 2 (LT2): the point where it accumulates exponentially (≈ 4 mmol/L).
Through these two thresholds, we find the famous 5 training zones.
Zone 1 – Active recovery (50–60% HRmax / < 2 mmol/L)
This is the quiet zone.
You're breathing normally, you can talk, you feel like you could go on for a long time. And that's exactly the point.
What it does:
-
Stimulates circulation and helps eliminate metabolic waste.
-
Promotes muscle regeneration.
-
Strengthens aerobic foundations without accumulating fatigue.
Key points to remember:
This is the zone that is most often neglected, but it's the one that allows for endurance. Elite athletes spend up to 80% of their time between Zone 1 and Zone 2.
When to use it:
-
Recovering after a tough block of training.
-
For long, basic endurance rides.
-
As a warm-up or cool-down.
Zone 2 – Aerobic endurance (60–75% HRmax / ~2 mmol/L)
This is the golden zone of endurance. You feel like you're working, but you remain comfortable. This is where you build your engine.
What it does:
-
Improve your ability to use fats as fuel.
-
Develops mitochondrial density (the “energy factories” of muscles).
-
Strengthen your cardiovascular system.
Inconvenience :
You have to be patient. Profits are built over hours, not minutes.
When to use it:
-
During the base period.
-
On long outings of 60 to 180 minutes.
-
Extremely relevant in cross-training to avoid excessive mechanical stress.
Zone 3 – Tempo / Upper aerobic threshold (75–85% HRmax / 2–4 mmol/L)
This is where we enter the zone that starts to heat up.
You breathe heavily, but you remain in control. This is the intensity you can maintain for up to 3 hours.
What it does:
-
Improve your ability to sustain prolonged effort.
-
Boost your lactate tolerance.
But be careful:
This is the “grey zone”: too intense for recovery, not intense enough to really stimulate VO₂ max. Many athletes get lost in it.
When to use it:
-
In tempo blocks (eg: 3 × 15 min).
-
For competitions lasting from 1 hour to 3 hours.
Zone 4 – Lactate threshold (85–90% HRmax / ~4 mmol/L)
Welcome to the threshold.
Breath is short, legs are burning, concentration is at its peak. This is your true performance threshold: the highest intensity you can sustain for a long time (45 to 76 minutes).
What it does:
-
Raise your lactate threshold.
-
Improve your management of muscle acidosis.
-
Stimulate your cardiovascular system to a high level.
The risks:
-
It is demanding on the nervous and muscular systems.
-
Requires proper recovery.
-
Use sparingly: 1 session per week is often sufficient.
When to use it:
-
At intervals of 8–12 minutes.
-
In the specific phases leading up to a competition.
-
To improve your sustained speed.
Zone 5 – Aerobic power / VO₂ max (90–100 % HRmax / > 4–6 mmol/L)
This is the red zone. The effort is at its maximum, sustainable for only a few minutes at most. This is where you'll push your limits.
What it does:
-
Directly stimulates VO₂ max (your maximum capacity to use oxygen).
-
Develops cardiac power.
-
Improve your ability to repeat intense efforts.
The limitations:
-
Very taxing on recovery.
-
Of little use without a solid foundation in zones 1–2.
-
To be reserved for specific periods.
When to use it:
-
Intervals of 2 to 5 minutes at near-maximum intensity.
-
In the “peaking” phase.
-
For explosive sports or the end of preparation.
Finding your balance: the polarization of training
The secret is not to do everything loudly, but to intelligently mix the intensities.
Modern research shows that the 80/20 model, with approximately 80% of the volume in zones 1–2 and 20% in zones 4–5, offers the best progression/recovery ratio.
This is the logic of “slow is smooth, smooth is fast”:
The more stable a base you build, the higher you can perform without collapsing.
Practical summary
| Area | % Max FC | Lactate (mmol/L) | Typical duration | Main objective |
|---|---|---|---|---|
| 1 | 50–60% | < 2 | 30 min–2 h | Recovery, aerobic base |
| 2 | 60–75% | ~2 | 1–4 h | Fundamental endurance |
| 3 | 75–85% | 2–4 | 30–90 min | Tempo, aerobic threshold |
| 4 | 85–90% | ~4 | 20–40 min | Lactate threshold |
| 5 | 90–100% | > 4–6 | 2–10 min | VO₂ max, power |
In conclusion
Your body is an incredible endurance machine, but like any machine, you have to learn how to pilot it.
Working in the 5 zones is a bit like playing with the gears of your engine:
-
Zones 1–2 form the base,
-
Zones 3–4 refine performance,
-
And zone 5 pushes the boundaries.
Don't fall into the trap of always training "a little too hard". You don't get faster by suffering every day, you get faster by pacing yourself, recovering, and repeating.
